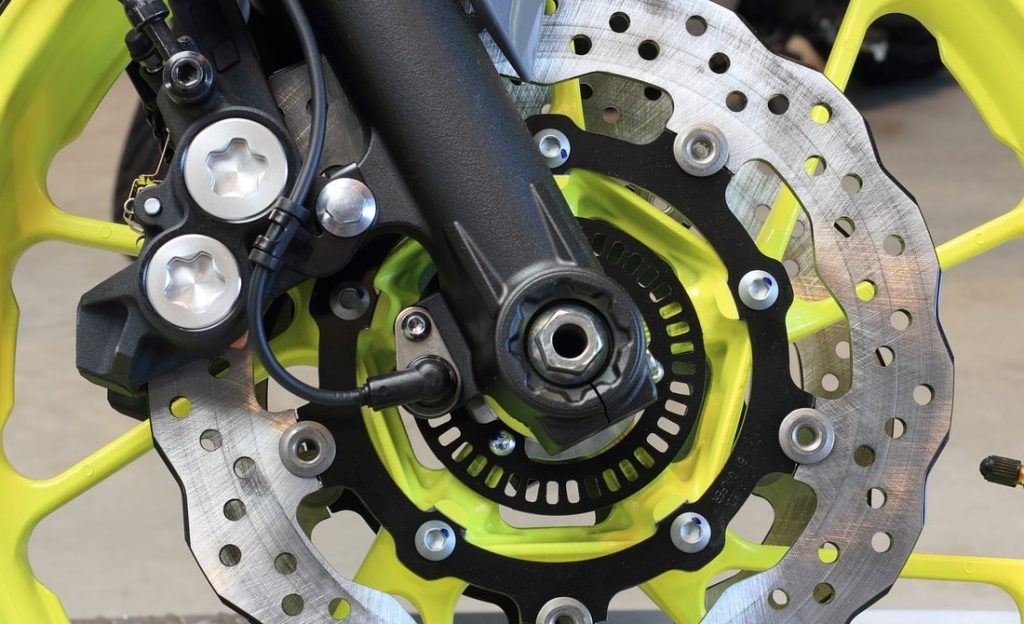
Welcome to our quick-fire guide on how to change motorcycle brake pads. You can do something your local motorcycle shop, is going to charge $50+ for, in labor.
This guide applies to:
- Dirt bikes
- Street bikes
- Adventure bikes
- Supermotos
All motorcycles, basically!
At the end of the day, the principle for changing braking pads is simple, and basically the same on all motorcycles.
Instead of creating a long-winded guide, I’ll create a brief description of what you need, and what you need to take note of.
I’ve found a great video on YouTube, that gives you a visual if there’s anything you get stuck with. You should be able to swap your pads within 10-minutes, using a combination of this guide, and the following YouTube video:
Jump To Section
What Tools You Need
- Ratchet set
- Allen key set
- Copper grease
You’ll also need your set of new motorcycle brake pads. I wrote up this guide to motorcycle brake pads a few months ago.
True to my word, I fitted EBC HH Sintered Race Pads on my Honda ?
How To Change Motorcycle Brake Pads
If you want to do this quickly, you don’t need to bleed the brakes. Here’s what’s going to happen.
- Remove the top of the brake reservoir
- Remove the caliper (ratchet set)
- The brake pads will drop out one side, held in on the other side, by the brake pin
- Remove the brake pin
- The pads will fall out
- Use copper grease to grease up the brake pin
- Fit the new pads in by slotting the end OPPOSITE to the brake pin into their slots first (this is all that holds them in the caliper on that side)
- Slot the pin through the other end of the pads
- Tighten the pin
- Re-fit the caliper
- Re-fit the reservoir cap
- Pump your brake lever until the pads seat on the disc. If you don’t you’ll have a shock the first time you come to use them.
Problems You Might Come Across When Fitting New Brake Pads
My Brake Pads Won’t Slot Over The Disc
Brake pads are pushed in and out by the pistons in the caliper. As they wear, the pistons slowly come further and further out.
You will (almost definitely) have to push the pistons back into place.
You can do this by levering the pistons (with something like a screwdriver), or levering directly onto the pads, to push the pistons back into place.
Quick Note: Avoid damaging the pistons by protecting whatever you use to lever them in (i.e. a screwdriver).
And, if you’re going directly onto the pads, DON’T use anything with oil on it, your brakes won’t work properly for 50km or so.
The Piston Won’t Go Back Into The Caliper
If the caliper is old and worn, or dirty (dirt bike riders), it might need a soak of GT85/WD40 first.
And, if you’ve worn out the pads completely, you’ll need to relieve pressure in the caliper by pushing the piston into the caliper, make sure the top is off the reservoir.
If it’s still not going in, then it’s seized. There’s a good chance this isn’t a straightforward brake pad change, and you need to replace the seals on the piston as well.
SAFETY NOTE
Make sure you’ve pumped your brakes, so the brake pads are seated firmly on the disc!
What’s Next?
Thanks for reading our quick-fire guide on how to change motorcycle brake pads.
Got questions? Leave a comment and I’ll get back to you as soon as possible.
